Quick Start
Step-by-step guide to integrate PayerScan payments into your platform.
Step 1: Create an Account
Visit the Registration Page to create a new Merchant account on PayerScan.
Step 2: Create a Store
After logging in, create a new Store in the Merchant Dashboard to start accepting payments.
- In the sidebar, click API Crypto to open the Store list.
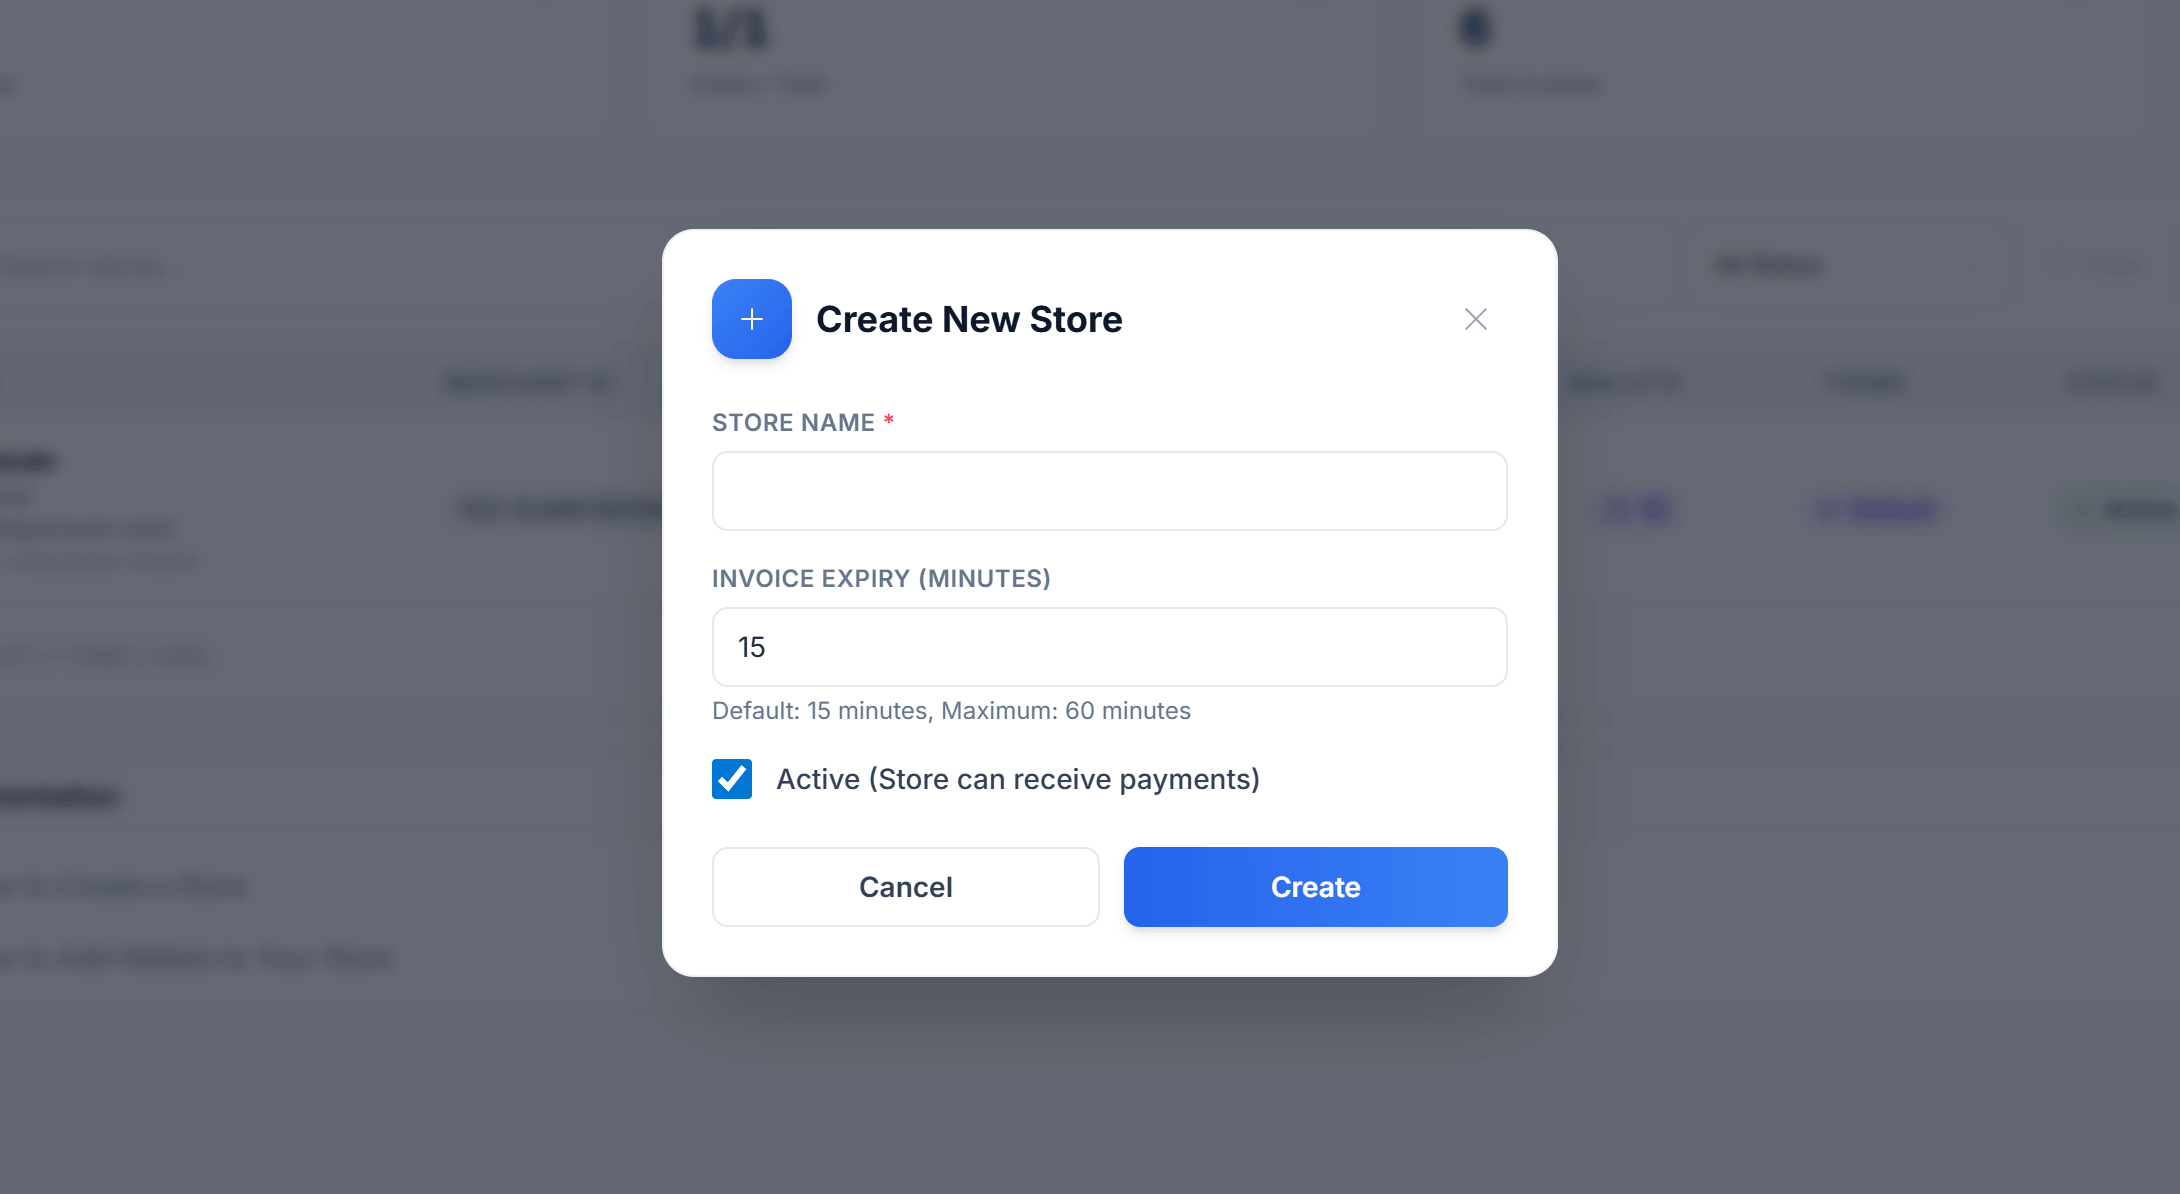
- Click the + Create Store button.
- Fill in the Store information and click Create.
📖 For detailed instructions, see the Create Store Guide.
Step 3: Get Your Merchant ID & API Key
After creating a Store, you will see your Merchant ID and API Key in the Store list.
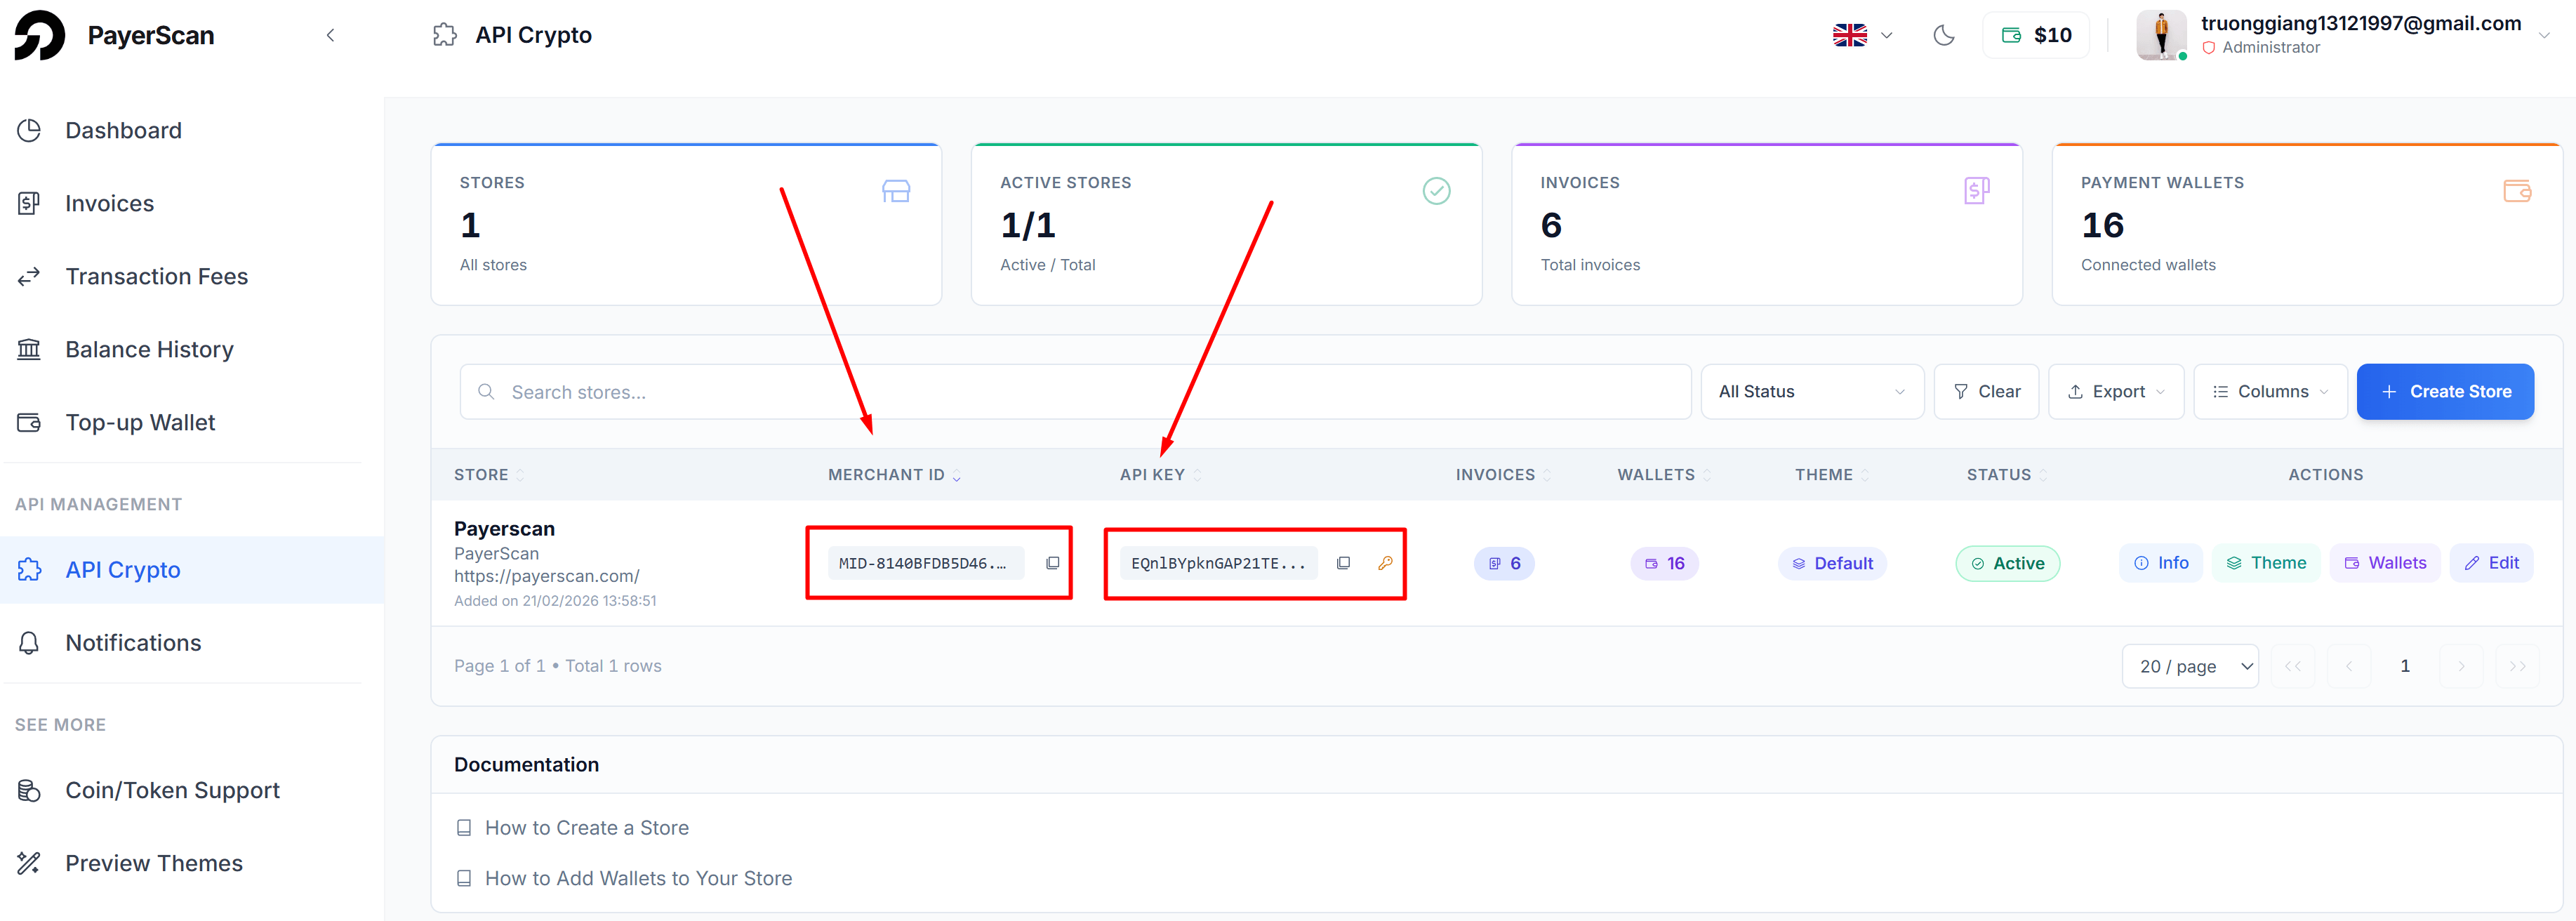
- Merchant ID — Your unique Store identifier (e.g.,
MID-XXXXXXXXXX). Required in API requests. - API Key — Used to authenticate API requests. Click the copy icon to copy.
Keep your API Key secure. Do not expose it in client-side code or public repositories.
Step 4: Configure Wallet Addresses
Before creating invoices, add wallet addresses to receive cryptocurrency payments:
- Add wallet addresses for receiving TRC20/BEP20/... tokens.
- You can add multiple addresses for the same coin and network.
📖 For detailed instructions, see the Add Wallet Guide.
If you also want to accept payments via Binance Pay, see Binance Pay Setup.
Step 5: Set Up Your Backend
Set up your backend logic to handle two key parts: creating invoices and processing webhooks.
5.1 — Create Invoice API
Call the Create Invoice API to generate a payment link:
curl -X POST "https://api.payerscan.com/payment/crypto" \
     -H "Content-Type: application/json" \
     -H "x-api-key: YOUR_API_KEY" \
     -d '{
        "merchant_id": "MID-XXXXXXXXXX",
        "amount": 100,
        "name": "Order #123456",
        "description": "Payment for shop order",
        "callback_url": "https://your-server.com/webhook/payment",
        "completed_url": "https://your-website.com/thank-you",
        "expired_url": "https://your-website.com/",
        "request_id": "ORDER_123456"
     }'
Then redirect the user to the url_payment link generated in the response.
5.2 — Track Payment Status
There are two ways to track invoice payment status:
-
Webhook (⭐ Recommended): PayerScan automatically sends a
POSTrequest to yourcallback_urlwhenever an invoice is paid or expired. This is a real-time, push-based approach — your server receives notifications instantly without needing to poll. You just need to expose a public endpoint and handle the incoming payload.📖 For detailed instructions, see the Webhook Guide.
-
Get Invoice API: If you prefer a pull-based approach, you can call the Get Invoice API to manually check the current status of any invoice at any time using its
trans_id. This is useful for on-demand status checks, order reconciliation, or as a fallback when webhooks are delayed.📖 For detailed instructions, see the Get Invoice Reference.
Step 6: Create Your First Invoice
Once your backend is ready, create your first invoice to test the full payment flow. Verify that:
- The payment page loads correctly via the
url_paymentlink. - Your webhook endpoint receives the callback when payment is completed or expired.
- Your system updates the order status accordingly.